
SketchBot wins 1st Place for Best New Product at IAAPA awards!
Tutorials
Quick & easy video tutorials to learn everything Ai SketchBot.
What You’ll Need
Main Items


SketchBot(s)
SketchBot Software

Base + Platform
(included with software purchase)

Additional Items
Photo Capture Device
(iPad, Photobooth, DSLR camera, etc.)

Laptop + USB Hub
Specs: Windows or Mac
16GB ram, 4 cores


Paper + Pens
See recommendations here
Power
(for Laptop & Bots)

Wifi (Internet)
or Local Network
Check out the Recommended Hardware page for more specific information.
Assembly + Setup

1
Assemble the Base
Connect the two hexagonal pieces

2
Position SketchBot & Platform
Each should fit comfortably into their respective holders
Note: If using the nano tape platform, never apply glossy side of paper to nano tape

3
Power on the SketchBots
Then connect them to the laptop

4
Follow the Setup Instructions
Via the Training Video
How it Works
1
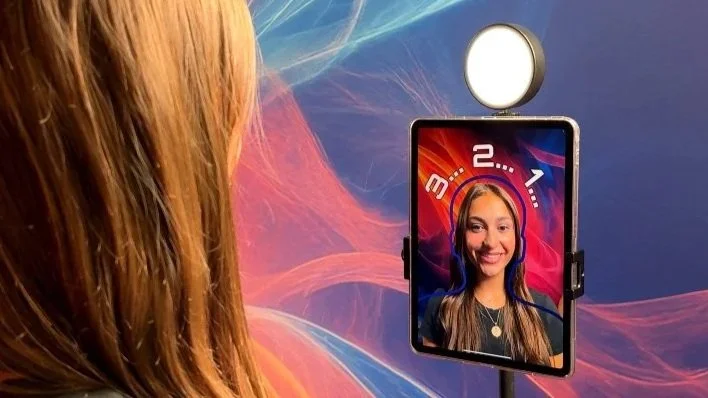
Capture
A portrait is quickly captured with the dedicated iPad app (or any photo capture device)

2
SketchBot gets to work for a true one-of-kind experience
35 ~ 55 Seconds

3
Admire!
A fun personalized take-away (and an optional digital animated take-away)
Photo Capture Options

MosaiCapture App for iOS
Use our iPad app to take photos in any environment
No green screen necessary
Included with SketchBot software
Note: iOS 15 or greater required


Use Your Own System
The SketchBot software includes a ‘hot folder’ that can connect directly to your photo capture system
Perfect for existing photobooths or DSLR cameras
Note: Photos will need to be cropped to square prior to adding them to the hot folder
Recommendations + Requirements
Pen Recommendations
Any 0.5mm to 0.7mm tip permanent marker typically works well. The goal is to find a marker that works well with your media, and it a thin enough to allow the details to be drawn. Additionally, finding a tip that doesn't flatten out too quickly, which will help maintain detail in the sketches over time. Here is our main recommendation:
Paper Recommendations
Most 4in x 6in media (matte is recommended) will work great. It’s always a good idea to test your pen and paper combination to ensure compatibility and drying time. Here are a few recommendations:
Note: matte finish works best with the recommended markers for smooth drawing. As always be sure to test your pen/paper combinations and full setup before your event, as production tolerance and methods can change over time by manufacturers.
Ready to add your logo or event branding? Learn how to customize your media here.
Minimum Mac or PC Requirements
Mac Laptop:
M2 CPU (or later) / Macbook Neo
Google Chrome Web Browser Installed
Windows Laptop:
Processor: Core i5-10210U, AMD Ryzen 3 3500U, or 4 Core with 8 Thread equivalent
Note: Celeron N/Atom processors not recommendMemory: 16 GB RAM
Hard Drive: Solid State Drive (256GB)
OS: Windows 10/11 64-bit
Google Chrome Web Browser installed
USB-C HUB Recommendations
We have found this hub to be the most reliable when connecting multiple bots:
USB-C to USB-A adapter (if your laptop does not have a free usb-c port)
Platform and Base Environmental Temperature Restrictions
Be sure to keep the platform and base out of extremely hot environments, i.e. temperatures above 90 degrees Fahrenheit (32 degrees Celsius) and in direct sunlight. These conditions can warp the platform and base
If outside, you will want to be sure you are under a tent so they are not in direct sunlight, and also be sure they are not left in a hot car (or other hot environments that are above 120 degrees Fahrenheit or 49 degrees Celsius)
Spring Loaded Platform Usage and Care
You can learn about the Spring-loaded platform here:
Learn about the platforms (usage, loading paper, media types, etc)
Learn how to push out the paper
Nano Tape Platform Maintenance & Upkeep
The gloss or semi-gloss side of your paper should never be applied face down to the nano tape. This will ruin the nano tape and it will need to be removed and replaced.
If the nano tape ever becomes dirty or loses its adhesive qualities, you can first try washing it with some mild soap and water, then pat dry with a clean, lint-free towel. This typically works well and can restore the nano tape’s adhesive qualities. If not, new or additional nano tape can be purchased through Amazon here.